Ruler
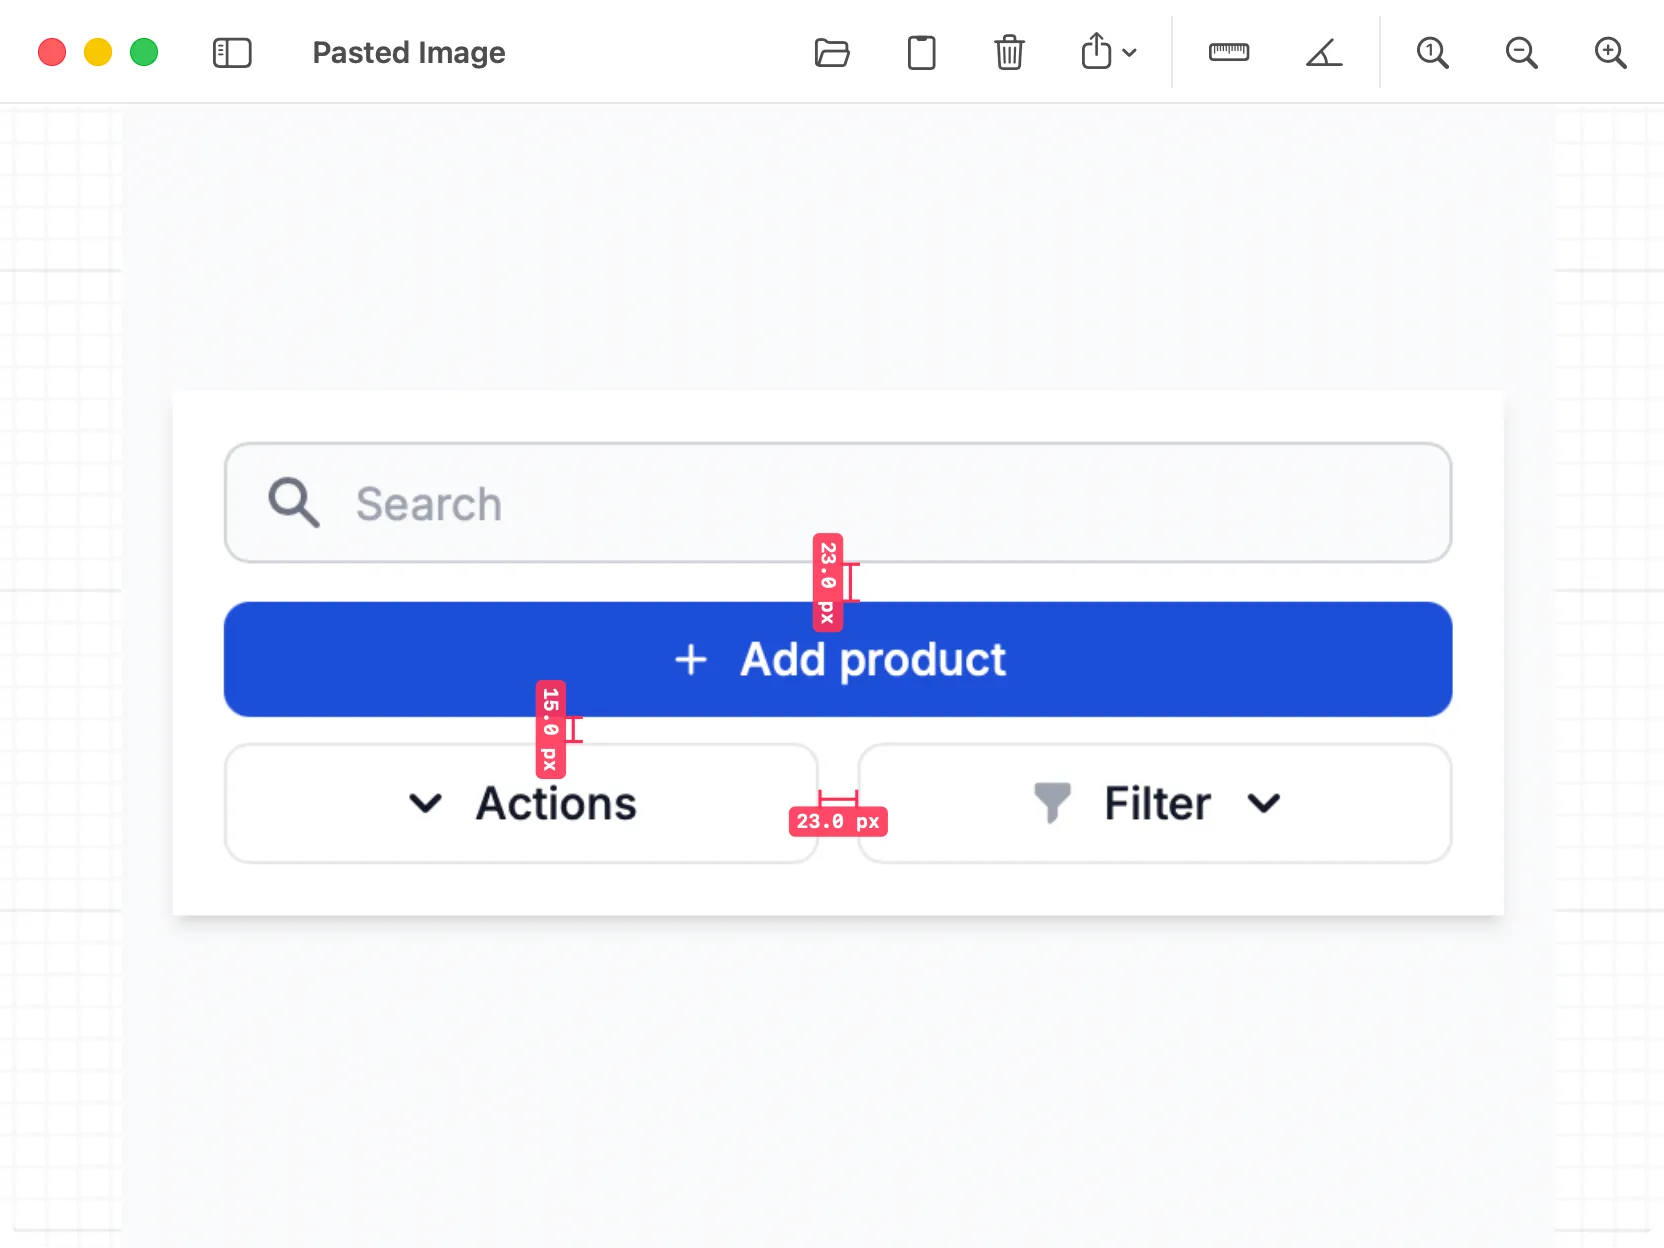
DevKnife’s Ruler tool helps you inspect images, screenshots, mockups, and visual assets by placing distance and angle measurements directly on top of the image. It is useful when you need quick pixel distances, angle checks, or an exported image that clearly shows the measurements.
Using the Tool
Section titled “Using the Tool”Start by loading an image into the Ruler workspace. You can open an image file, drag and drop one into the tool, or paste an image from the clipboard.
Once an image is loaded, the canvas keeps your image, measurements, and viewport state for the current window, so you can leave the tool and return to the same working state later.
Measuring Distance
Section titled “Measuring Distance”Use Ruler to add a distance measurement.
- Click Ruler in the toolbar or press
R. - Click the first point on the image.
- Click the second point to finish the measurement.
- DevKnife displays the measured distance in pixels.
Hold Shift while placing or adjusting a distance measurement to snap the line to common directions.
Measuring Angles
Section titled “Measuring Angles”Use Angle to add an angle measurement.
- Click Angle in the toolbar or press
A. - Click the first arm point.
- Click the vertex point.
- Click the second arm point to finish the angle.
- DevKnife displays the measured angle in degrees.
Editing Measurements
Section titled “Editing Measurements”Click an existing measurement to select it. The selection panel shows the measurement value and available colors.
You can:
- Drag measurement endpoints to adjust distance measurements.
- Drag angle points to adjust angle measurements.
- Drag the measurement body to move the whole measurement.
- Pick a color from the selection panel.
- Delete the selected measurement from the selection panel.
Navigating the Image
Section titled “Navigating the Image”Use the zoom controls to inspect the image at different scales:
- 100% shows the image at actual size.
- Zoom In increases the canvas scale.
- Zoom Out decreases the canvas scale.
You can also pan around the image and use trackpad magnification to zoom around the current pointer position.
Exporting Results
Section titled “Exporting Results”The Ruler tool can export or copy the image with visible measurement overlays.
Use Export for:
- Export Image: Save the whole image with measurements as a PNG file.
- Export Visible Area: Save only the currently visible canvas area as a PNG file.
- Copy Image: Copy the whole measured image to the clipboard.
- Copy Visible Area: Copy only the currently visible area to the clipboard.
What You Can Use It For
Section titled “What You Can Use It For”The Ruler tool is useful for:
- Checking pixel distances in screenshots and UI mockups.
- Measuring angles in images or diagrams.
- Creating marked-up screenshots for bug reports or design feedback.
- Inspecting spacing, alignment, and visual proportions without opening a full image editor.